Learn how to make elderberry syrup like a professional using our stovetop & Instant Pot Instructions. If you have any additional questions, please contact us via email. Immunotea@gmail.com
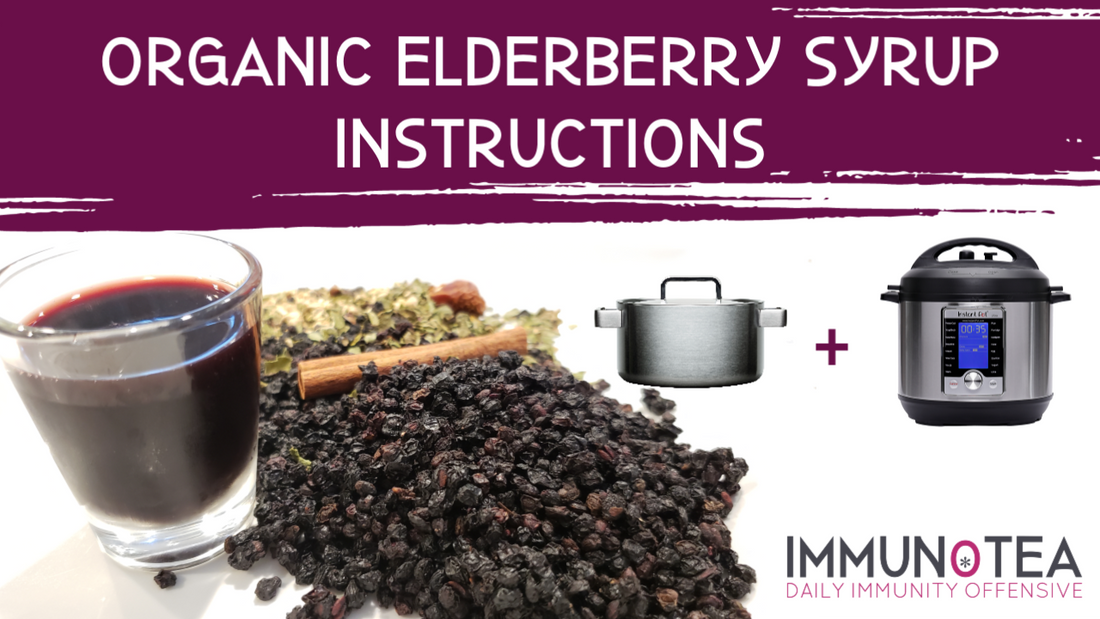
Stove Top Instructions:
Step 1. Boil 4 cups of water in a saucepan.
Step 2. Add 1 package of Elderberry Syrup Mix.
Step 3. Cover with a lid and reduce to a simmer for 45-60 minutes.
Step 4. Strain berries through a cheesecloth or metal strainer.
Tip: Let the syrup cool before adding honey or sugar.
Instant Pot Instructions:
Step 1. Add 4 cups of water into the Instant Pot along with 1 package of Elderberry Syrup Mix.
Step 2. Seal the lid and the pressure vent, set it to pressurize for 8 minutes.
Step 3. Allow for a natural pressure release and then let it cool down before adding your sweetener.
Tip: Let the syrup cool before adding honey or sugar.
Dosage Instructions:
We recommend 1 tablespoon daily for adults, and 1 teaspoon daily for children over one to help boost the immune system year-round.
If you are feeling sick or have the flu, increase the dosage to 1 tablespoon every 3-4 hours up to 6 times per day (for children over one use 1 teaspoon).
For sore throat treatment, use recommended daily dose as needed, not to exceed 6 times a day.
Why not exceed 6 times a day? Among the many benefits, elderberries are also a mild diarrhetic and may cause unintended side effects if taken in excess.
How To Store Your Syrup?
We recommend storing your Elderberry Syrup in the refrigerator. The syrup can last up to 6 months in the refrigerator, however; we recommend consuming within 2 months.
How To Sweeten Your Syrup?
We recommend using Raw Local Honey as an immunity-boosting sugar. *If you have a child under 12 months old, substitute honey for table sugar or agave.
Use 4-8oz of honey. This honey will act as a natural preservative and will naturally boost the immune system. Raw local honey gives your body the micronutrients from your local area. This will help with local allergy suppression.